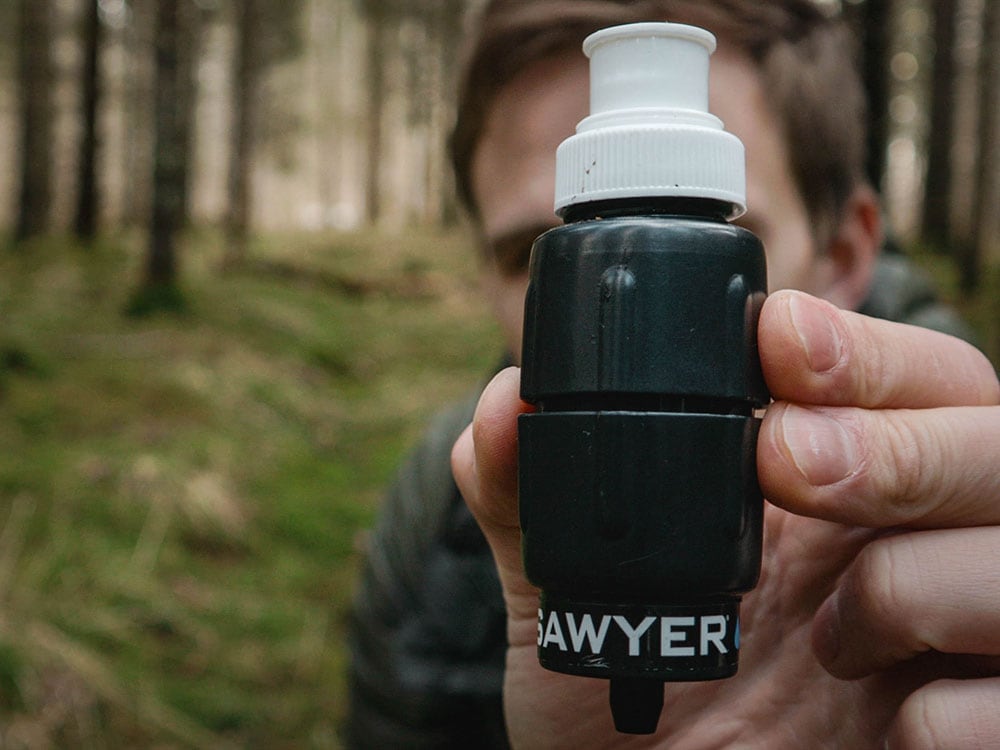
I purchased my Sawyer Micro Squeeze water filter in early 2020 as a replacement for my Sawyer Mini water filter. Since then, I’ve been using it on all of my hikes where water filtering was necessary, including a 500-mile thru-hike in Northern Spain.
In this review, I’ll be sharing my own experiences from using the Sawyer Micro Squeeze. I’ll tell you what things I like about it, what not, and whether I would recommend it to other people.
Overview (74/100)
What we like:
- Affordalbe
- Lightweight and compact
- Good flowrate (80 seconds per liter)
What we don’t:
- Needs to be backflushed frequently
- When not used for a long time, the flow rate decreases
- The Sawyer pouches can burst very easily.
The Specs
- Weight (Without Backflushing Syringe)2.3 oz / 64 g
- Dimensions4.5 x 1.6 inches / 11.5 x 4 cm
- Fitlers OutBacteria, protozoa, green matter, and dirt above 0.1 microns (99.99999% of all harmful bacteria.)
- Doesn’t Filter OutChemicals, metals, pesticides, viruses.
- Lasts For100 000 gallons / 370 000 liters
- FlowrateApprox. 80 seconds per liter of water.
Video Review
Full In-Depth Review
Before using the Sawyer Micro Squeeze I used the Sawyer Mini as my main water filter. The main problem with it was that it had too slow of a flow rate. Its flow rate was 1 liter of water per 120 seconds when working at its best, and 1 liter per 3-5 minutes when it was clogged up. The Sawyer Micro Squeeze promised a much higher flow rate at a similar size and weight, which is why I chose it.
The Sawyer Micro Squeeze Has a Fast Flow Rate
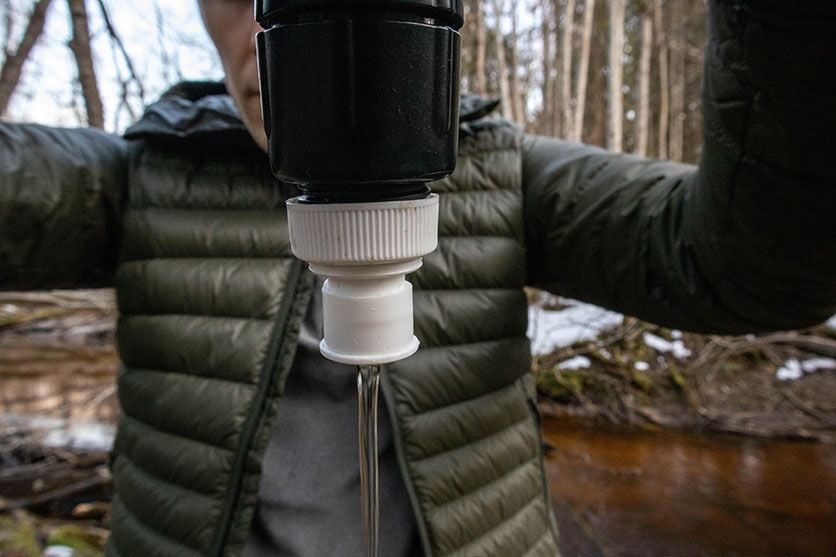
After 3 years of occasional use, the flow rate on my Sawyer Micro Squeeze has obviously declined a bit over the years. But it can still filter a liter of water in roughly 80-90 seconds, which is quite a big improvement from the Sawyer Mini.
It definitely doesn’t have the fastest flow rate among popular water filters. But when you use it, it doesn’t feel painfully slow. If I can filter 1 liter of water in 80 seconds, it means that I need to spend roughly 3 minutes filtering water in the evening and 3 in the morning when thru-hiking, which really isn’t that much.
To Keep the Flow rate Fast, You Need to Regularly Backflush It and Soak It in Vinegar

The Sawyer Micro Squeeze works by squeezing the water through very small micro-tubes with tiny holes in them (hollow-fiber membranes). This keeps all the particles larger than the holes within the filter. Eventually, the filter will clog up, so you need to backflush it to get all the particles out and restore a good flow rate.
You should backflush the Sawyer Micro Squeeze after every 3-10 liters of filtered water. But it depends on how dirty the water is. If you’re filtering muddy water with large particles, then you would ideally need to backflush it after every use. But if not, you can easily filter it every few days, which is what I did during my thru-hike in the mountains.
Backflushing essentially means forcing water in the opposite direction to get all the dirt out. To backflush the Micro Squeeze, you need to fill up the syringe that comes with it with clean water. Then you need to press it against the clean end of the Micro Squeeze and push it as hard as you can. You’ll notice the water coming out on the other end is visibly dirty, but it gets cleaner as you continue pressing it. Repeat that about three times and the flow rate should be restored to optimum levels.
Over time, after about 3-6 months of using the filter, you’ll notice that the flow rate becomes worse. This happens because as the water inside the filter dries up, it leaves a layer of minerals inside it, which reduce the flow rate.
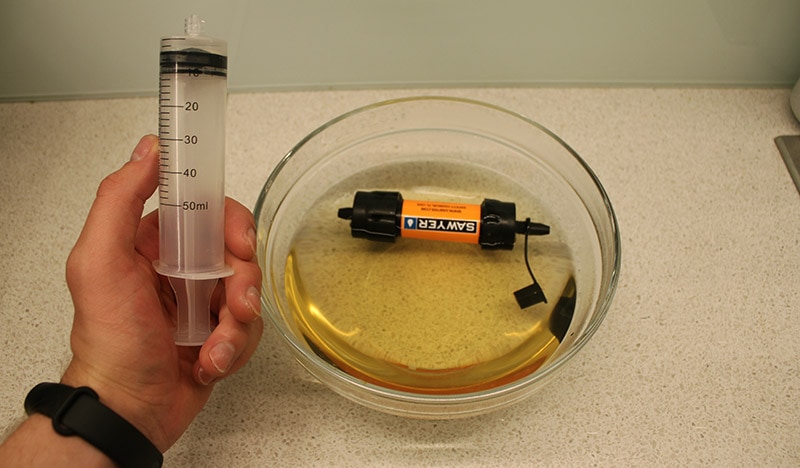
To remove the mineral buildup, you have to mix a bowl of boiling water with vinegar (5 to 1 ratio), drop your Sawyer Micro Squeeze inside it, and leave it in there for about 1 hour. The water doesn’t need to keep boiling – it just needs to be hot at the beginning. After 1 hour has passed, you fill-up the syringe with the vinegar water, and backflush the water filter with it, until you’ve used up all the water in the bowl.
Doing this will restore the flow rate nearly to its original levels. After finishing my thru-hike, the flow rate dropped to about 1 liter every 150 seconds. By doing this, I restored it back to 80-90 seconds per liter. Generally, you should do it 1-2 times per year.
What the Sawyer Micro Squeeze Can Filter and What It Can’t
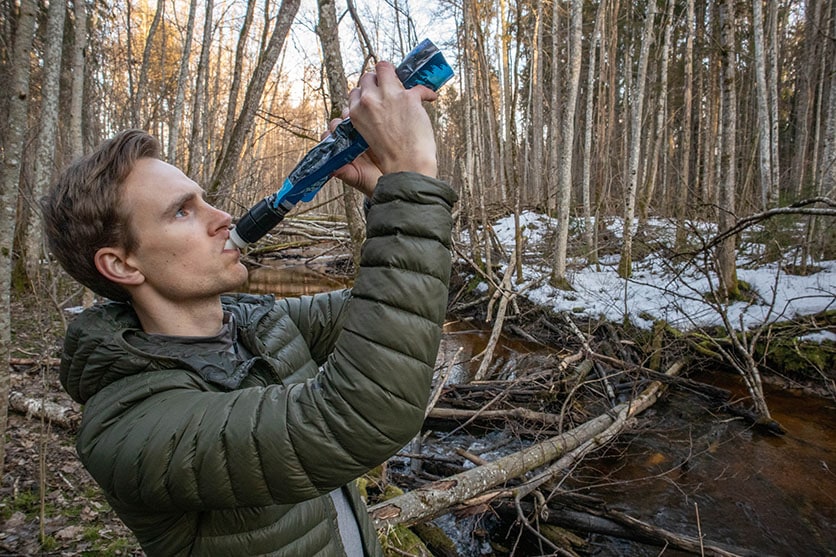
The Sawyer Micro Squeeze filters out 99.99999% bacteria, 99.9999% protozoa, 100% microplastics, and any other particles (dirt, ground, e.t.c.) over 0.1 microns. What it doesn’t filter out is particles under 0.1 microns, which means it won’t filter most chemicals that dissolve in water, heavy metals, pesticides, and viruses.
Generally, you should only use it in places where there’s little to no potential for chemical or agricultural waste. You shouldn’t use it near large farms, where there could be viruses from the farm animals or pesticides from the crops, and near industrial areas or places with a lot of trash, where there could be some toxic waste. When you’re out hiking, usually, most water sources don’t fall within these categories. Most rivers, lakes, ponds, springs, and even remote puddles are safe to filter with the Sawyer Micro Squeeze.
How to Use the Sawyer Micro Squeeze Water Filter
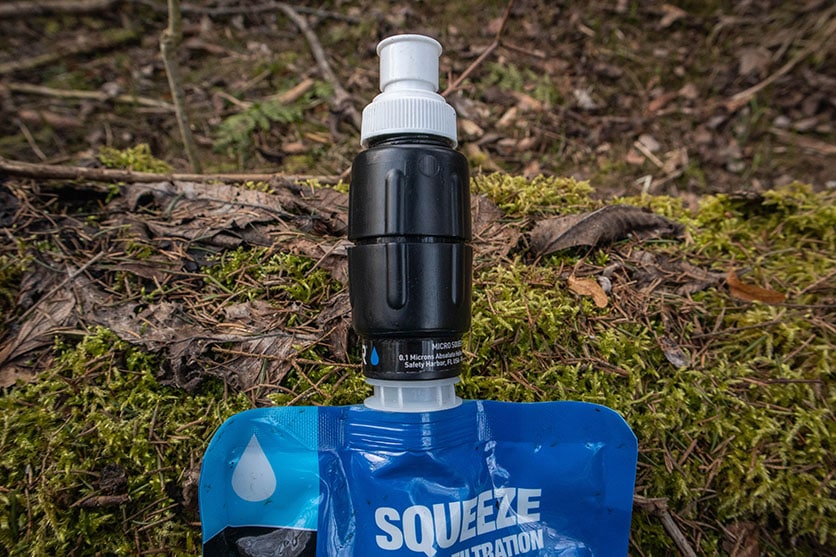
- First, you need to select a good source of water. A running stream is the best option, but you can also easily filter water from lakes.
- After that, you need to fill up the provided Sawyer pouch or a regular water bottle with dirty water. When filling it up, try not to stir the water up too much so that less dirt gets inside the filter, allowing you to backflush it less frequently.
- Screw on the Sawyer Micro Squeeze on the water bottle or the pouch, turn it upside down, and start pressing the bottle/pouch. On the opposite end, clean water will come out. If using the pouch, don’t press it too hard, otherwise, its seams will break (I’ve had that happen to my Sawyer pouch).
- You can also drink straight from the clean end of the filter or use it as a life straw, by submerging the dirty end in the water.
- When finished, try to shake as much water out from the dirty end of the filter as possible. This will clean out some of the dirt from its inside, and also reduce the amount of water left inside, which will reduce mineral buildup over time.
Over Time, You’ll Need to Replace Its O-Rings/Gaskets
One thing that happened to both my Sawyer Mini and the Micro Squeeze, is that I lost the gasket that goes in between the water bottle and the water filter. By shaking out the water after using it, I must have shaken out the gasket as well.
And the bad news is that you can’t use the water filter without a gasket. Otherwise, dirty water will seep through and drip down into your clean water container. The good news is that you can get replacements for them very cheaply on Amazon. I’d advise buying them in combination with the filter because it’s just a matter of time before when you’ll need them. Having them already on hand is very beneficial during a longer hike.
What’s Included With the Full Kit (Weight & Dimensions)
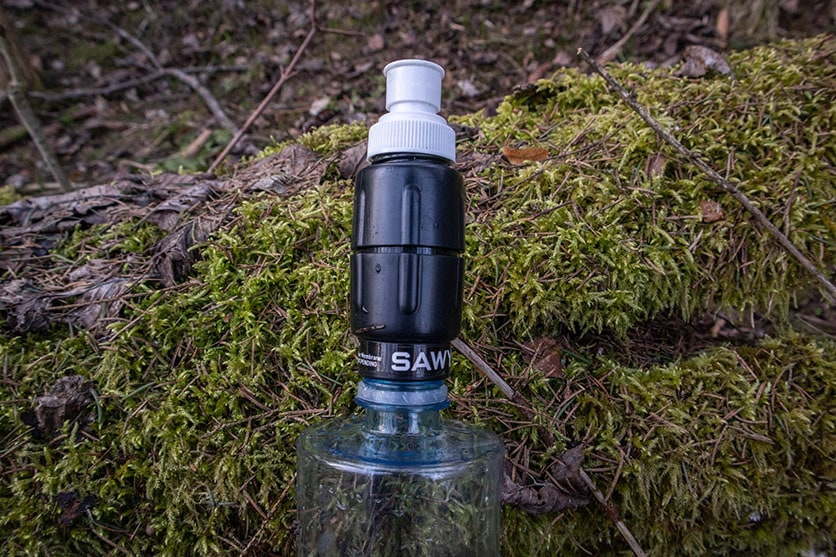
The Sawyer Micro Squeeze kit comes with the water filter itself (2.3 oz / 64 g,) a syringe for backflushing the water filter (1.09 oz / 31 g,) a 16 oz / 500 ml Sawyer pouch (0.77 oz / 22 g,) and a straw attachment to use the Micro Squeeze as a life straw.
On my thru-hike, I used two 2-liter water bottles instead of the Sawyer Pouches because they’re more lightweight and can be replaced in any grocery store. The Sawyer Micro Squeeze uses the same diameter cap, so you can screw it onto regular bottles.
The backflushing syringe can be replaced with a simple sports bottle screw-on cap. The idea is that you can fill up a bottle with clean water, screw on the sports cap, and backflush the filter by squeezing the cap against the clean end and pressing the bottle. By doing this, I didn’t need to bring the bulky syringe that comes with the Sawyer Micro Squeeze on my thru-hike.
Micro Squeeze Dirty Water Test

Although generally I avoid doing this, theoretically, the Micro Squeeze filters out any water that isn’t contaminated with chemicals, heavy metals, or viruses. To test this, I filtered water from a very dirty puddle in the middle of a forest, making sure to stir it up before filling up the pouch, just to make things more interesting.
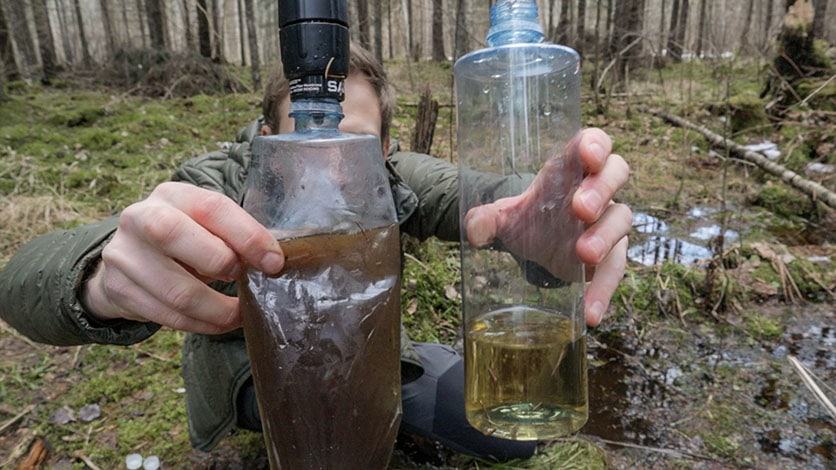
The filter did get clogged up from this pretty quickly, but the Micro Squeeze did its job. I drank almost a full bottle of filtered water (400 ml), and I didn’t get sick. In taste, the water didn’t differ from regular tap water. However, the filtered water did look different in color, being in a yellowish tint. The yellow tint comes from tannins, which are caused by the breakdown of vegetation, and they’re completely safe to drink. Unfortunately, the Micro Squeeze can’t filter out tannins, which means that the filtered water will look unpleasingly yellow but it’s still safe to drink.
About the Sawyer Water Pouches
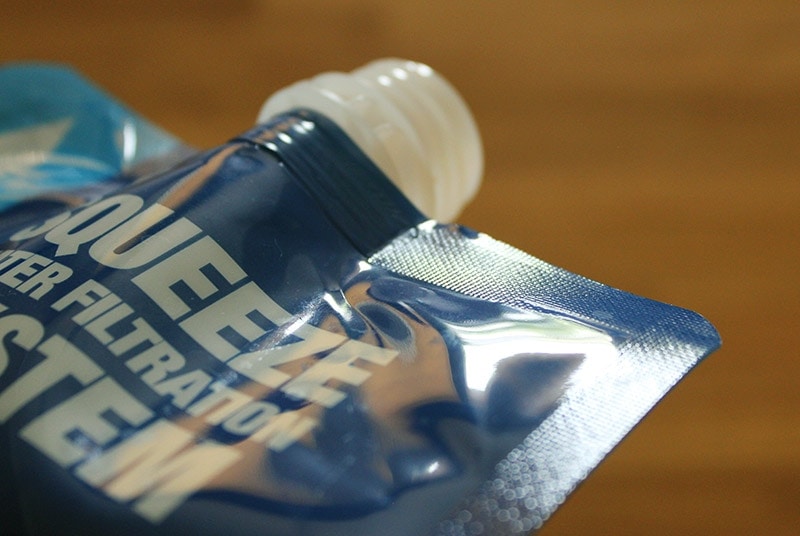
A lot of people don’t like to use the original Sawyer pouches, because they aren’t too flexible, they can be hard to fill up, and they can burst very easily. In fact, I broke the original 16 oz / 500 ml pouch at the beginning because I squeezed it too hard. After getting some advice on various forums, I found out that you shouldn’t be squeezing them so hard because the water doesn’t come out faster anyway. Since I stopped doing that, I haven’t burst any more pouches.
So the moral of the story is that the Sawyer pouches aren’t perfect. if you apply too much pressure, they’ll break. But if you don’t they can still last a very long time.
Using the Micro Squeeze In Winter
When using the Micro Squeeze in freezing temperatures, you should always keep it near your body (for instance, in a pocket in your pants). That’s because once the Micro Squeeze freezes, the inner hollow-fiber membranes could break because of water inside expanding/contracting, and the filtered water wouldn’t be safe to drink anymore. So always be careful when using the Micro Squeeze in winter.
Sawyer Micro Squeeze vs Mini vs Squeeze
I also own the Sawyer Mini, which is the smallest and lightest version of Sawyer’s water filers. Having said that, it’s only 0.4 oz (11 grams) lighter than the Micro Squeeze and it’s very similar in size, so the differences aren’t really that large. I prefer the Micro Squeeze because it has a much quicker flow rate of 80 seconds per liter vs 120-180, and it costs only a few dollars more.
There’s also another version that Sawer offers called the Sawyer Squeeze. It’s 0.7 oz (20 grams) heavier than the Micro Squeeze, a bit larger, and a bit more expensive. I haven’t tested the flow rate of the Sawyer Squeeze yet, but OutDoorGearLab places it at 40 seconds per liter, so the Micro Squeeze definitely is slower. I think that either of these options is good, but I personally prefer the Micro Squeeze due to its smaller pack size and weight, and still a good-enough flow rate.
Final Verdict: Is the Sawyer Micro Squeeze Any Good?
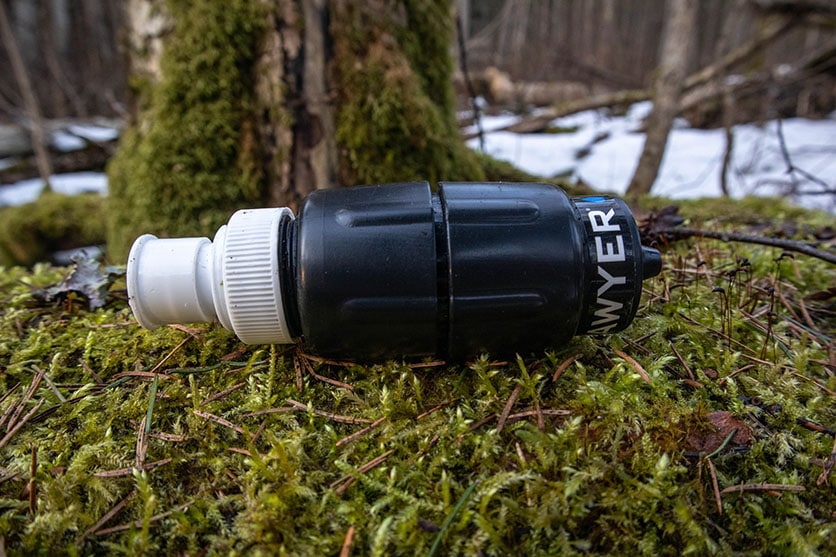
The Sawyer Micro Squeeze is a water filter that I’d recommend to anyone. It’s really affordable, small, lightweight, and robust. It also offers a good amount of flow rate, so you won’t become frustrated or tired when filtering water.
Its only downside is that it needs to be cleaned rather frequently and that the pouches that come with it aren’t of good quality. But I personally use it with regular water bottles, instead of pouches, and I tend to hike in the mountains, where the water is rather clean in the first place. So these issues aren’t really too significant for me. Overall, it’s a great little water filter, and I’ll continue using it in the future.
