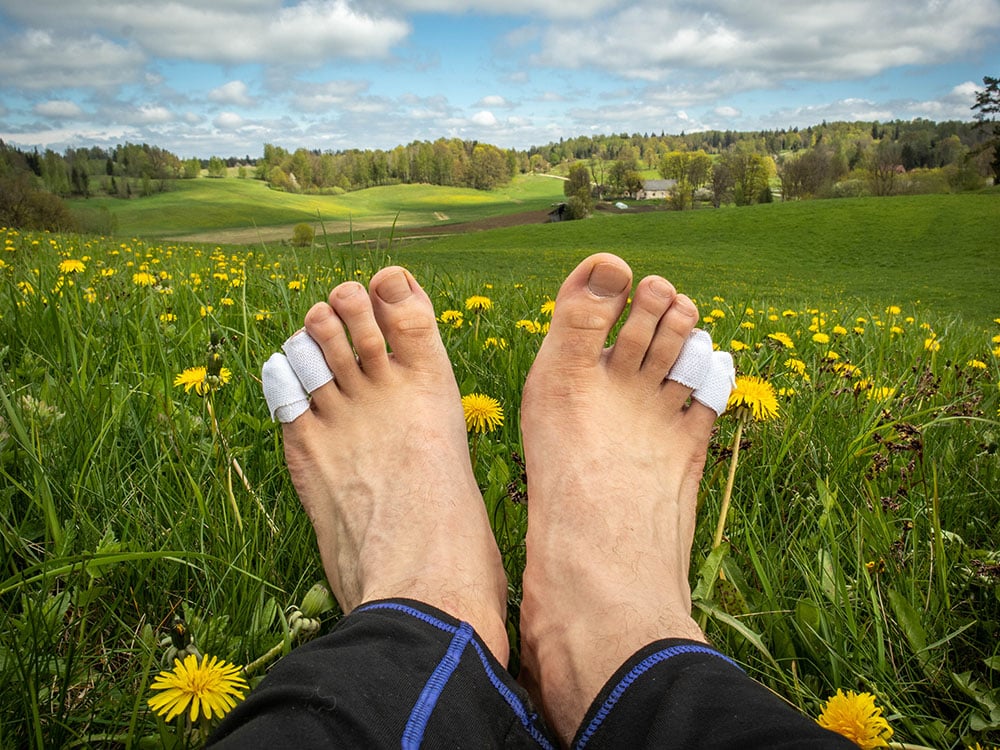
People usually are impressed whenever they hear that I didn’t get any blisters on my 500-mile (800 km) thru-hike. Not a single one. With the right gear and with the right preparation and knowledge, it’s possible to avoid having blisters from hiking entirely.
Before starting my thru-hike, I purchased the right antimicrobial socks and shoes that fit me perfectly, I toughened my feet before starting the hike, and when I was on the trail, I knew how to treat my feet before any blisters started forming. Later in this article, I’ll share all of my tips on how to toughen your feet for hiking, so you can have zero blisters on your next hike. But before I get into that, let’s talk about calluses.
What Are Calluses and How Long Do They Form?
The simplest explanation on calluses that I found was on Cleveland Clinic’s website, so I’ll just quote them:
Corns and calluses develop from repeated friction, rubbing or irritation and pressure on the skin. The hardened layers of skin of corns and calluses are actually your body’s way of protecting the underlying skin from the irritation and pressure.
In simple words, calluses are the rough spots on your skin, which form from friction. When we’re talking about blisters specifically, the best way to minimize them is by reducing friction in your hiking shoes and toughening your feet AKA forming calluses. Some people recommend shaving off your calluses, but you most definitely shouldn’t do that – it’s your body’s way of protecting you from blisters.
Blisters and calluses are actually the same things when you think about it, at least at the beginning. They form whenever your feet experience friction, and if too much friction is applied, a blister will form, but if it’s minimized to just the right amount, a callus will form instead.
Calluses usually form within 2-4 weeks, depending on how much hiking you’re doing. In my thru-hike, my first “baby calluses” started forming just after the first week, but I was walking over 30 km (18 miles) every day. With a few “feet toughening” sessions per week, you should expect to be trail-ready within a few weeks.
1. Whenever You’re Doing Shorter Day Hikes, Put a Load on Your Backpack
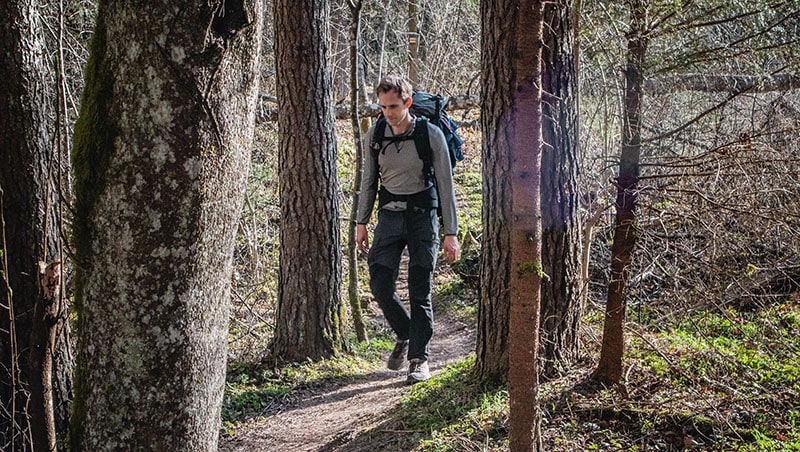
Your feet will toughen much faster whenever you’re carrying more in your backpack. When training for a thru-hike, the best training session from my own experience, is going out for a day hike with about 10-15 kg (22-33 lbs) on your back. If you’d train without a pack and suddenly start hiking with an extra 20-30% of your body weight, you’d most likely get blisters.
However, you should be careful if you’re starting fresh, otherwise, you’ll just develop blisters. Start without a pack, then 5 kg (11 lbs), then 10 kg (22 lbs), and so on. Try to calculate what’s the maximum weight you’ll carry on your thru-hike (with food and water included) and work your way up to at least 70% of that weight.
2. Walk Barefoot
Walking barefoot is a very simple and natural way of forming calluses, as you’re exposing your skin to the elements. Thousands of years ago we didn’t wear any shoes, and I’d imagine our feet must have been covered with calluses, which would protect our feet from the cold, the heat, and rough surfaces.
Start by walking around your house barefoot – don’t wear any socks. That said, you won’t get trail-ready just by walking barefoot around the house. You should go outside as well. Just remember to do it gradually – start with smooth pavement, sand, or grass, and gradually introduce sessions on rocks, gravel, etc. Honestly, you don’t really need to walk barefoot all the time, but if you do it once or twice per week, it will definitely help with reducing blisters.
Read Next: What Is Cross Country Hiking? (Guide)
3. Clip Your Toenails
Clipping your toenails won’t form any calluses, but if you want your feet to get trail-ready, you must remember to cut your toenails as short as you can. On my thru-hike, I bought a small, lightweight, Swiss Army knife, which included a pair of scissors, and I cut my toenails every week.
This is vitally important, especially for long-distance hikes, because long toenails will push into your shoe, thus slightly bending your toenail, which WILL cause it to fall off eventually, and it’s not something that you want to happen on a thru-hike.
4. Applying Rubbing Alcohol or Tannic Acid (Tea Bags) Will Toughen Your Feet
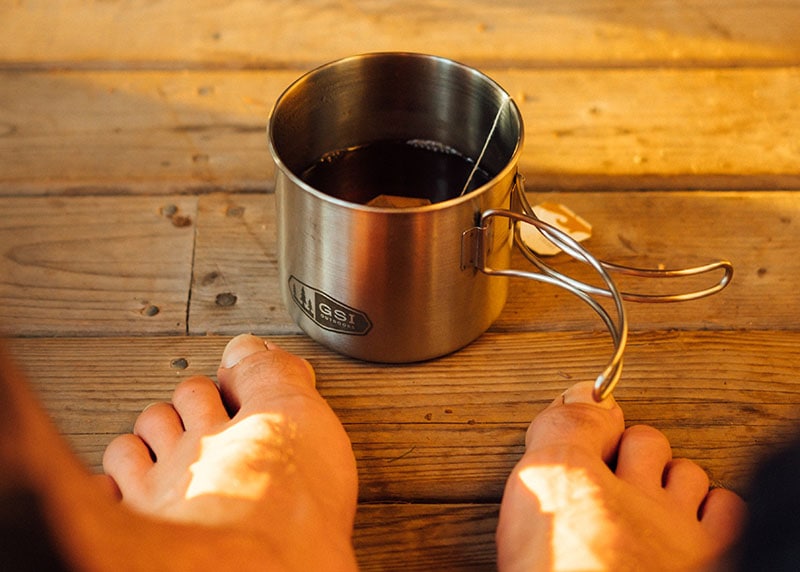
I haven’t done this myself, but it’s a time-proven technique, not only used by hikers but by marathoners and trail runners as well. Applying rubbing alcohol or tannic acid to your feet will make the skin drier and thicker, which reduces the chances of any blisters forming while hiking. This technique is used by quite a few old-timers when they need to prepare for a thru-hike.
For this technique, you’ll need rubbing alcohol (found in most supermarkets and pharmacies) or tannic acid (Basically, strong tea. You can make it by soaking 2-4 bags of black tea in hot water for a few minutes). Apply either of the ingredients to your feet 2-5 times per week, while making sure that your feet don’t become too dry. You can apply the alcohol with a sponge, and you can soak your feet in concentrated tea water for several minutes each session. Doing this for 3-4 weeks will toughen the skin on your feet.
5. When Hiking, Walk On Rough Surfaces as Much as You Can
Hiking on the pavement is not the same as hiking in the mountains. When you’re walking on a smooth surface, usually only specific parts of your feet brush against your shoes but when you’re walking on rocks or uneven ground, other parts of your feet get exposed. That’s why it’s important to walk on uneven surfaces as well when you’re toughening your feet for hiking.
6. Use Leukotape as Soon as Painful Areas on Your Feet Start to Form
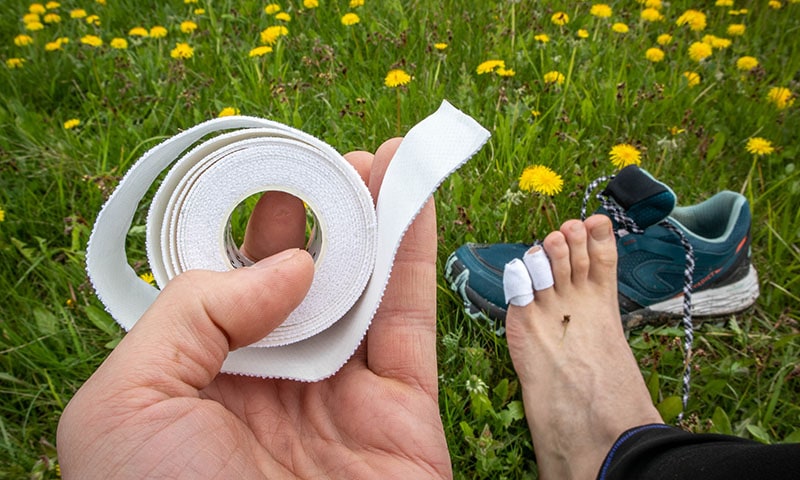
Don’t overlook this step, because it’s really important. When you start hiking, as soon as you start to feel some pain or discomfort somewhere on your feet, stop and tape it with leukotape, sports tape, or even ducktape (Yep, a lot of old-timers swear by using ducktape instead of leukotape. If it works, it ain’t broken!).
Believe me, I know that it’s very frustrating to stop every 20 minutes at the start of the hike to tape your feet, especially if you’re hiking in a group. But it really is necessary because blisters form incredibly quickly. From my own experience, once you start to feel that a blister might be forming, if you don’t stop and tape it right away, after 30-60 minutes it will already be too late.
7. Drain Blister Fluid (if needed)
If it’s a smaller blister, I usually leave it alone. But if there’s too much fluid in the blister and it becomes too uncomfortable, I drain it using my pocket knife. And although generally, nothing bad happens from this, it’s a better idea not to pop them. Several health sources say that it’s usually a better idea to leave the blisters alone because when a blister is popped, it opens up the wound and there’s a small chance of infection. So if you’re popping a blister, make sure to clean the area first, and put in some bandages or leukotape over the drained blister.
8. Get Antimicrobial Wool Socks
In my 500-mile (800 km) thru-hike I attribute the most success to not getting any blisters to choosing the right shoes. Before I used generic merino wool socks, and although they’re a good choice, they weren’t perfect and I still got some blisters every now and then.
When I was preparing for my thru-hike I came across Silverlight Socks, and let me tell you, they were a game-changer. They’re perfectly compressed, so they don’t slide around my feet, they dry quickly, and what’s unique for them specifically, is that they’ve weaved silver yarns into the merino wool/spandex/nylon blend. Supposedly, silver yarns have incredible antimicrobial features, and by reducing the bacteria in your socks, you’re reducing the chances of any blisters forming. I don’t know if any other socks use this silver technology, but the Silverlight socks definitely worked for me, as I didn’t get a single blister.
If you’re looking for a sock, definitely don’t go with cotton. Get a merino / nylon / polyester blend, because they won’t get wet as quickly from all the sweat. Another important aspect is to get socks that fit your feet really well and don’t move around, and that have padding around the heel and the toe box, where blisters will most likely form.
9. Get Comfortable Hiking Shoes That Fit Your Unique Feet
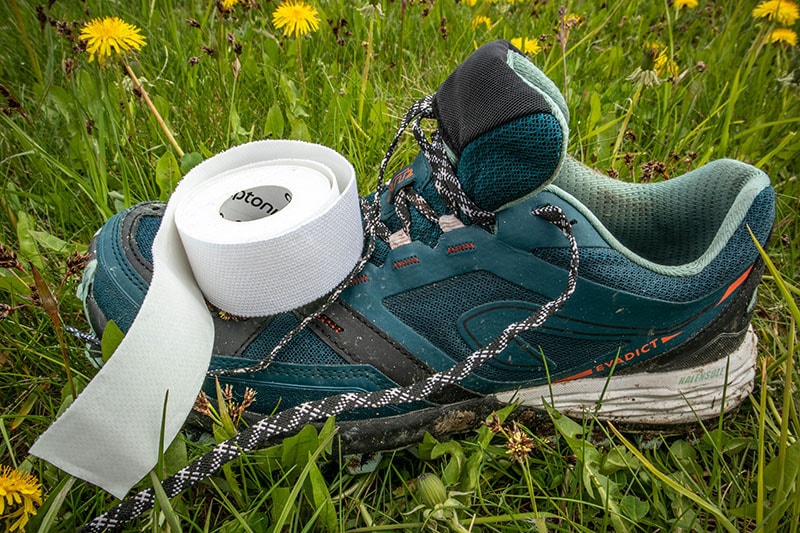
Each one of us has differently-shaped feet. Some hiking shoes might feel comfortable for some, but not for others. When you’re getting hiking shoes or hiking boots, there are a few things that you should look out for.
First of all, breathable shoes will form much fewer blisters, and the most breathable type of hiking shoe is trail runners. Unless you’ll constantly be hiking in rain and mud, it’s a better idea to get breathable trail runners, instead of waterproof hiking shoes or boots.
Secondly, you should pay attention to how the shoe feels on your feet. Your feet shouldn’t slide around, the toe box should be very wide and your toes shouldn’t be squished together, the sole should be padded and thick, and there should be enough padding around the ankles, so no blisters form there.
My preferred choice is breathable trail runners, with nice padding all around, thick and comfortable soles, and a wide toe box. I chose similar shoes for my thru-hike and ended up with zero blisters.
10. Always Break in a New Pair of Hiking Shoes
Before starting a longer hike, make sure to break in a new pair of hiking shoes. Gradually wear them for longer distances and gradually add more weight to your back, until you can walk over 10 km (6 miles) without any discomfort. If there’s still discomfort after breaking them in, unfortunately, you may have chosen the wrong shoe. Hiking shoes should feel comfortable from day one, and the right hiking shouldn’t require much breaking in.
11. Lace Your Hiking Footwear Using Proper Lacing Techniques
I’ve shared some lacing techniques in another article, but in general, you should learn what is a surgeon’s knot and how to use it. With a surgeon’s knot, you can keep your toebox nice and loose while keeping the part around your ankle tight, so your feet don’t move around. In my thru-hike, I skipped the first two rows of laces entirely, to keep my toes loose, and used two surgeon’s knots in the middle to keep the rest of the shoe nice and tight.
Read Next: How To Lace Hiking Boots For Wide Feet
12. Dry Your Socks and Shoes on Breaks
Whenever you stop for a break, make it a habit to take off your shoes and socks and dry them out in the sun for several minutes. This will keep your shoes dry, which will greatly reduce the chances of any blisters forming. Blisters form much, much quicker in wet environments, so this is really important to do!
13. On Your Hikes Switch Between Two Pairs of Socks
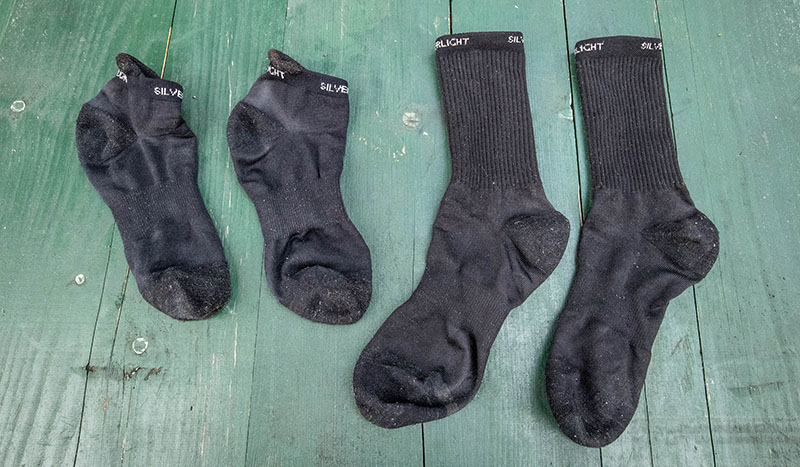
To keep your feet dry, just drying your shoes at every break won’t cut it, unless it isn’t too hot and your feet aren’t sweating. But if it’s hot or wet, you should bring two pairs of socks, and change between them one or two times per day. Tie the other ones to your backpack and let them dry out while you’re hiking. It’s not a pretty sight, but who cares – you’re thru-hiking. On my thru-hike, a lot of times my socks weren’t the only pieces of clothing that I was drying by attaching them to my backpack.
14. As a Last Resort, Experiment With Foot Powders and Creams
I haven’t tested this specifically myself, but some people use foot powders and foot creams to reduce blisters. Everyone’s feet are different – some might be too dry, so a cream might help, and some might have skin with much more natural oils in them, so a powder would make them drier and reduce the chances of the feet sliding around the shoe. If you’re following all of the advice mentioned above but still are getting blisters, maybe try experimenting with these substances. Who knows – maybe they’ll fix your problems.
Final Words
If your feet aren’t “toughened” enough before starting a longer hike (or even a thru-hike) you’ll most likely end up with a few blisters on your feet. So make sure to do all the necessary steps that I mentioned above if you want to avoid blisters. The most important ones probably are choosing the right socks and the right shoes, breaking in your shoes, training with a heavy backpack, taping your feet as soon as you start to feel discomfort, and switching between two pairs of socks.
