Hiking on trails can be fun, but after a certain point, too much becomes too much. You’ll probably want to try something different; something more adventurous. That’s where cross-country hiking comes in. By hiking cross-country, you get to experience nature in its purest form, without other people.
In this guide, we’ll tell you everything you need to know about cross-country hiking, so you’re able to plan and execute a successful cross-country hiking trip on your own.
What’s the Meaning of Cross Country Hiking?
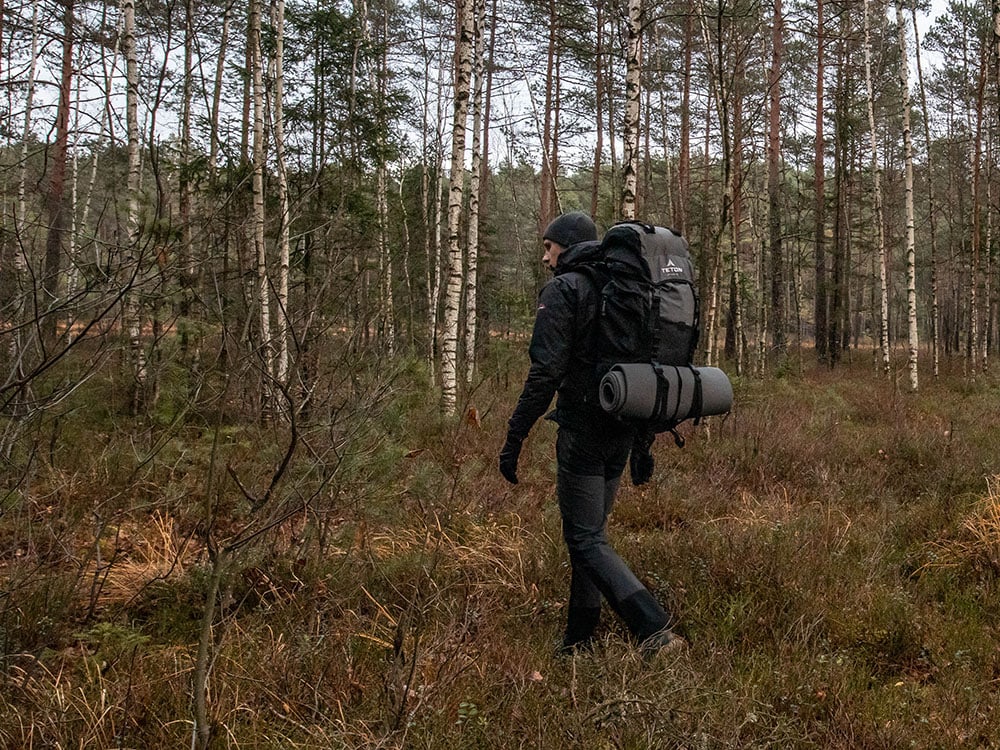
Cross-country hiking means hiking off-path, instead of hiking on popular hiking trails. Other called “bushwhacking” or “bush-bashing”, cross-country hiking goes through wilder and more untouched regions, which also makes it more physically demanding. In its essence, cross-country hiking is very similar to cross-country skiing. It often involves crossing rivers, streams, overgrown forests, wetlands, and other areas which you wouldn’t typically endeavor on a typical hike. That’s why cross-country hiking requires a lot more preparation and is only advisable for experienced hikers.
Read Next: 7 Best Hiking/Backpacking Forums
Cross-Country vs Long-Distance Hiking
A lot of people confuse cross-country hiking with long-distance hiking (thru-hiking). Cross-country hiking means walking off-path, and long-distance hiking means walking for multiple weeks or even months, usually on popular, maintained hiking trails.
Often long-distance trails cross an entire country, which is where the confusion comes from. But they’re two completely different forms of hiking. You could theoretically have a cross-country long-distance hike if you’d be hiking off-path for weeks or months.
8 Tips for Preparing for a Cross-Country Hike
Cross-country hiking requires a lot more planning and preparing because after all, it’s much more dangerous. There are much more variables and things that can happen, which could leave you stranded in a dangerous situation. That’s why you should always spend some amount of time preparing for your cross-country hikes.
1. Planning a Cross-Country Hiking Route
The first step in having a successful cross-country trip is to plan the whole route. Obviously, you could be completely spontaneous but the route and its conditions will determine what equipment you’ll need, so it’s advisable to plan ahead, or at least know roughly where you’ll be going.
Here are some things that you should look out for when planning a cross-country hiking route:
- Does it cross private property? Unless you’re planning on hopping fences and dealing with countryside dogs, avoid passing through private properties. Usually, good places for cross-country hiking are natural parks and large state-owned areas because they don’t have much private property.
- Does the route cross streams and rivers? Rember that river crossings require different gear. Also, rivers could potentially overflood from too much rain, which could leave you stranded with no way back. Another thing to consider is that you can’t judge how passable a stream is without looking at it in real life, so always plan ahead that you may need to detour to reach the closest bridge.
- In the mountains, cross country hiking isn’t really an option. When you’re hiking in the mountains, it’s almost impossible to judge if the area is passable only from topographical maps and satalite imagery. Most of the times, it’s not. Believe me, I’ve wanted to take my fair share of shortcuts when walking in the mountains, only to reach a dead end. There’s a reason why you should always stay on the trail in the mountains. You could end up in a place with no safe way in either direction because scrambling uphill always seems pretty easy until you turn around and understand that it’s too dangerous to turn back.
- How overgrown is the trail? You can’t really judge how walkable the forest, meadow or anything else is just from looking at the map. Keep in mind that you’ll probably have to take a lot of detours.
- Make sure that your route has enough places to resupply and enough water sources. You’ll need a town to resupply your food every 2-5 days with a large enough shop. You’ll also need a fresh water source at least once every day where you can stop and filter some water.
- Could you experience altitude sickness? If you’ll be hiking above 2500-3000m (8000-10000 ft) altitude for the first time, keep in mind that you might expereince altitude sickness. Pack some painkillers for treating your headache and drink more water than usual. Always know the fastest route downhill if the problems become too severe.
- Plan ahead for the nearest roads, refuges, towns, e.t.c. You never know what could happen and you might need to ditch, so always have a plan B.
Read Next: How to Attach Tent to Backpack (To Not Hurt Your Back)
2. Understanding How Much You’ll Be Walking Each Day
Hiking cross-country is not like hiking on well-maintained trails. If you can do about 20-30 km (12-18 miles) each day, you can probably do half or even one-third of that cross-country. Of course, this heavily depends on the trail conditions and how many detours you’ll need to take. In very rugged places, I’d recommend planning on doing about 7-10 km (4-6 miles) every day and 15-20 km (9-12 miles) if you’ll be walking in good conditions, such as flat alpine hills, pine tree forests, the desert, e.t.c.
3. Preparing for the Weather
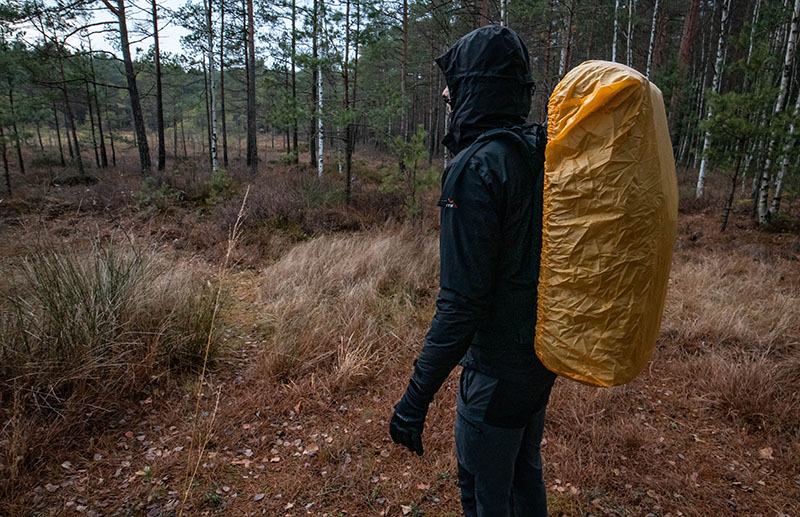
Remember to pack according to the weather. If it’s going to rain, get a waterproof rain jacket and pants and use a waterproof pack liner for your gear. If you’re hiking in winter, get insulated hiking boots, a merino wool base layer, a proper hat and gloves, a buff, and plenty of clothing. In terms of weather, you should aim to avoid the two extremes – overheating and getting hypothermia.
4. Picking the Right Gear for Cross-Country Hiking
It’s vital that you choose the correct gear for the terrain and weather. Below we’ll go over the most important things that you should look at.
- Choosing durable instead of ultralight gear. Although nowadays everyone prefers ultralight gear, me included, when you’re hiking cross-country, durable gear is better. That’s because you’ll be walking on pretty bad trail conditions, which will be just too much for ultralight gear to handle. Ultralight gear is usually made from thinner, less durable materials, which you need to be careful. Ideally, you’d want to find something in the middle – durable and lightweight – because bringing heavy gear will cause all other kinds of problems.
- Shelter. For your shelter, it’s best to go with a tent, but you could also go with a hammock or tarp but only if you’ve tested it before and know that it’s 100% reliable, waterproof, and windproof. If you’re caught in a blizzard or rainstorm, your shelter could literally save yor life by keeping you from getting hypothermia. If you’re confident that your ultralight tent is fully waterproof, there’s no reason why you couldn’t go with an ultralight tent.
- Sleeping gear. You need to be absolutely confidant that your sleeping gear will keep you warm. As a rule of thumb, look at the weather forecast, and subtract five degrees from the minimum temperature to aim for a good comfort temperature. So if the temperature is going to be 0 C (32 F) degrees, aim for a comfort temperature of -5 C (23 F). In winter, remember to bring a sleeping pad with an R value of at least 4, and possibly even bring another insulated foam pad (which doesn’t weigh much anyway) to put underneath your inflatable sleeping pad. If your sleeping bag doesn’t have a warm enough comfort rating, bring another summer sleeping bag or a sleeping bag liner. Another thing to consider is possibly getting a synthetic sleeping bag instead of down, because when down gets wet, it loses all insulation properties, which could be crucial.
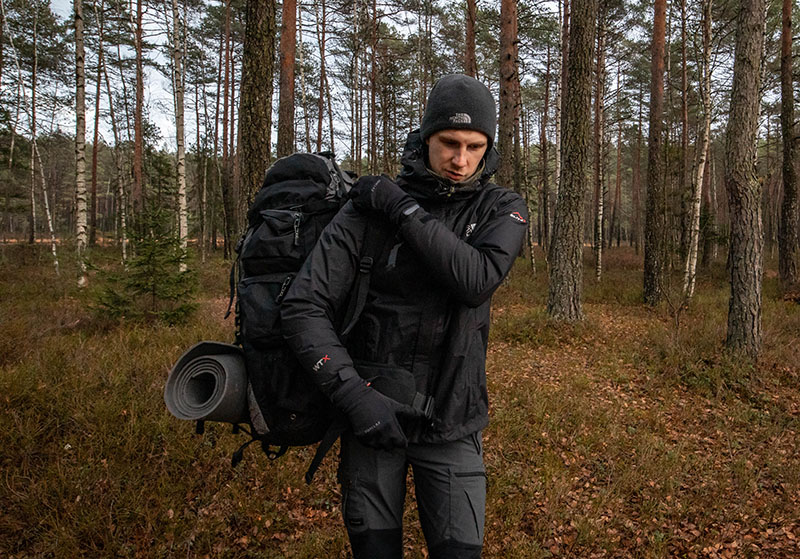
- Backpack. Because you’ll probably go with more gear than usual, get an internal frame backpack. I’d avoid ultralight backpacks because they can rip too easily and if you’ll be bushwhacking, you’ll be putting them under a lot of pressure. Instead, choose something more durable. That said, make sure that it isn’t too heavy either and that it’s comfortable enough, so you can cover longer distances every day without much back pain. And lastly, bring a waterproof pack liner or several dry sacks to keep your gear in. You shouldn’t be relying solely on your backpack or rain cover to keep your gear dry.
- Food & Cooking. As a rule of thumb, bring 1-2 days of extra food whenever you hike cross country. You never know how long your trip will end up, because it’s harder to judge that just by studying the map. Make sure that your camping stove has enough gas and bring a lighter with you just in case you need to build a fire. Try to bring as lightweight food as you can, so avoid canned goods, fresh fruit and vegetables, and other heavy items with not too many calories. Instead, choose something that’s high in calories or dehydrated food, which you can boil in 5-15 minutes. Rice, pasta, textured soy, snacks & chocolates, nuts, oats, dried fruit, dried meat are all good options.
- Water filtering. Even for an overnight trip I’d reccommend bringing a water filter. You’ll be able to carry much less water, and if you’ll get lost and suddenly need to spend extra 1-2 days in the outdoors, you’ll have a backup way of getting fresh water. Instead of water filters, you could also carry other water filtering options, such as water treatment pills or drops.
- Clothing. With your clothing, your goal is to stay protected from the weather. So if it’s going to be raining, get a rain jacket and rain pants which you know will be 100% waterproof. In case of cold temperatures, bring a warm enough base layer, a hat and gloves, warm enough socks, and insulated hiking boots. If it’s going to be sunny or you’ll be hiking in high altitude, bring a hat, a sun shirt, sunscreen, and lip balm. When hiking cross-country, it’s better to bring an adaquete amount of clothing, rather than bringing too little due to weight saving purposes.
- Footwear & socks. For your footwear, you need to make sure that you won’t get any blisters. You shouldn’t go hiking with a fresh pair of boots and instead you should break them in first. Another thing to consider is choosing between hiking shoes, trail runners, and hiking boots. Obviously it depends on the terrain, but hiking boots are an overall better alternative when hiking cross-country. For your socks, you could hike with two pairs of socks, or get a pair of good merino wool socks, which will keep your feet dry and blister-free. I finished a 800km thru-hike with the silverlight merino wool socks and I didn’t get a single blister.
5. Learning About Survival and Preparing for All the Potential Risks
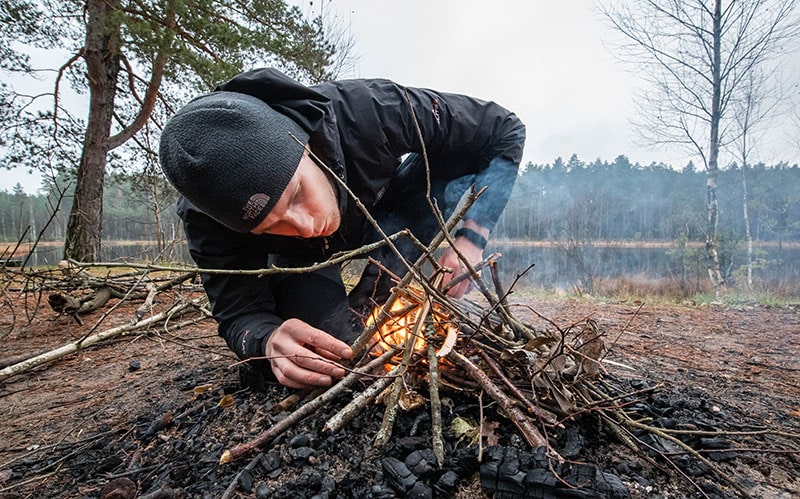
If you’ll be hiking cross-country, you need to know how to act in a survival situation. What would you do if you’d fall into a river in cold weather? What would you do if you’d severely sprain your ankle? What would you do if you’d lose your backpack due to a bear attack? You need to learn the basics, such as how to build a fire, how to navigate without using your phone, how to treat open wounds, how to build a shelter, e.t.c. You could learn some of it on Youtube, but you could also consider taking a local survival course, which would be beneficial because you might need to use it someday.
Due to the terrain and weather, you need to take into account all the potential risks, which could include mountain thunderstorms, overflowing rivers, snowstorms, flash floods, e.t.c.
Another thing to consider is the wildlife and all of its predators. So you might need to bring bear canisters, bear sprays, or bear bells. You should also know what to do in case you encounter a bear, wolf, puma, or any of the kind. With some of them, you need to show dominance and with others, you need to back away.
6. Having an Emergency Back-up Plan in Place
If you’ll be hiking cross-country, chances are that you won’t be connected to the internet or you won’t even have any phone signal. When I was thru-hiking the Pyrenees, it was pretty common to experience days without any signal whatsoever. In case of an emergency, you need to be able to call for help, so you should always carry some kind of an SOS satellite device. They’re pretty expensive, but they could end up saving your life. The Garmin InReach Mini is a good option with which you can also send SMS to your friends and family when there’s no signal.
7. Navigating While Cross-Country Hiking
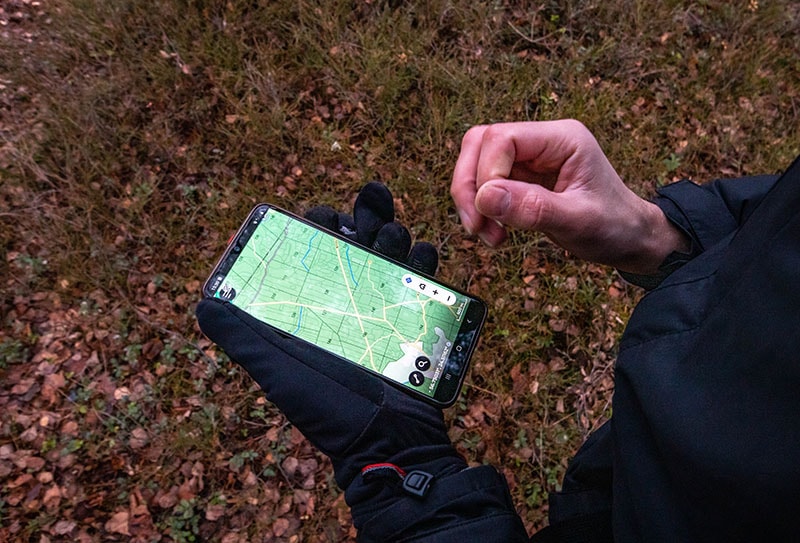
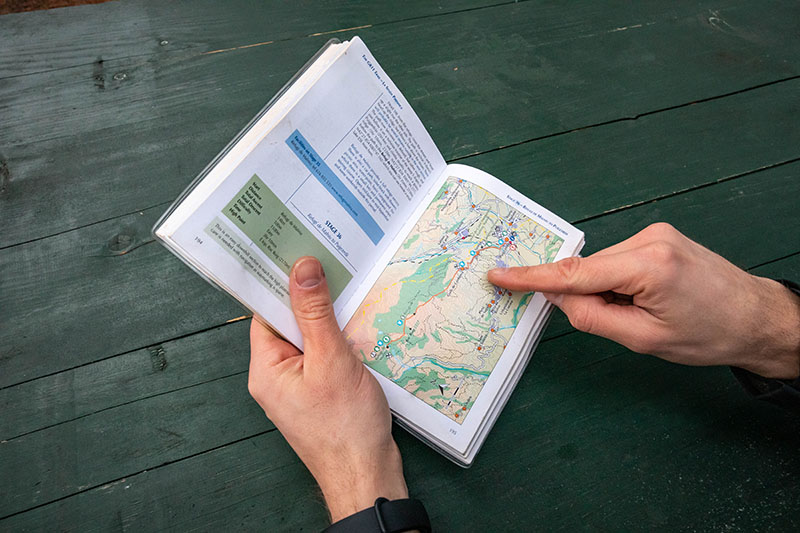
Honestly, I wouldn’t really say that you need backup paper maps if you’re navigating just using your phone and have an emergency backup GPS & SOS device as well, such as the Garmin Mini. But if you don’t and you’re just using your phone, then you need some kind of backup, because what would you do if your phone would get exposed to rain, or just end up with a dead battery? You could, of course, bring a power bank and get a waterproof phone, but still, you should have some kind of backup way of navigating, such as basic topographical paper maps and a compass.
Nowadays though, for the main navigation device, it’s perfectly fine to use your phone, and I do that as well. That said, you should always remember to download offline maps. Use an app that works offline and has good-enough offline maps. I tested all kinds of different hiking apps once and good options are Gaia GPS, ViewRanger/Outdooractive, AllTrails, and Kamoot. By the way, Kamoot is a really good option for setting up your own trails. For cross-country hiking though, you’re just looking for an app with good terrain, satellite imagery, notable landmarks, and so on.
8. Leaving No Trace
Some people in the hiking community dislike cross-country hiking because it’s worse for the environment. After all, you’ll be walking off-trail and destroying some wildlife in your way. And while that holds some truth, I think that cross-country hiking is actually better than hiking on maintained trails. On maintained ones, nothing grows on the path, and sometimes even around the path as well. Plus, on popular trails, you’ll find all kinds of trash along the trail. When cross-country hiking though, you’re walking on a new trail, and if you don’t leave behind any trash and you’re careful not to destroy the environment, I would argue that it’s better.
Most notably, you should take all of your trash with you, get a trowel and dig a cathole whenever you need to do the number two, make fires in safe places with not many plants around, and try not to destroy the flora.
How Many Calories Do You Burn When Hiking Cross-Country?
According to burned-calories.com, an 81 kg (180 lbs) individual would burn 411 calories per hour when hiking cross-country or when hiking in the mountains. For comparison, the same individual would burn only 257 calories per hour when hiking normally. Based on these numbers, hiking cross-country, on average, burns about 60% more calories per hour.
So if you’re looking to lose some weight, cross-country hiking is the way to go. You should also keep this in mind when calculating how much food you’ll need. You should definitely bring more food when cross-country hiking.
Is Cross Country Hiking Safe?
Cross-country hiking is more dangerous than hiking on maintained trails, due to various risks, such as getting lost, gear failures, weather, terrain, wild predators, e.t.c. That said, I wouldn’t say that cross-country hiking isn’t safe. Safe is a relative term after all. If you come prepared – all of your gear is in order, you know the route, have a backup plan, e.t.c. – cross-country hiking is fairly safe, not much more dangerous than hiking on regular trails.
Final Words
Cross-country hiking can be an incredibly rewarding experience – it’s spontaneous, adventurous, sometimes even dangerous, and definitely a challenge compared to hiking on maintained trails. It does require a lot more knowledge and preparation though. If you follow all of the advice mentioned in this article, you should now be ready to tackle your first cross-country hike. My last piece of advice would be to go out there and have some fun!